

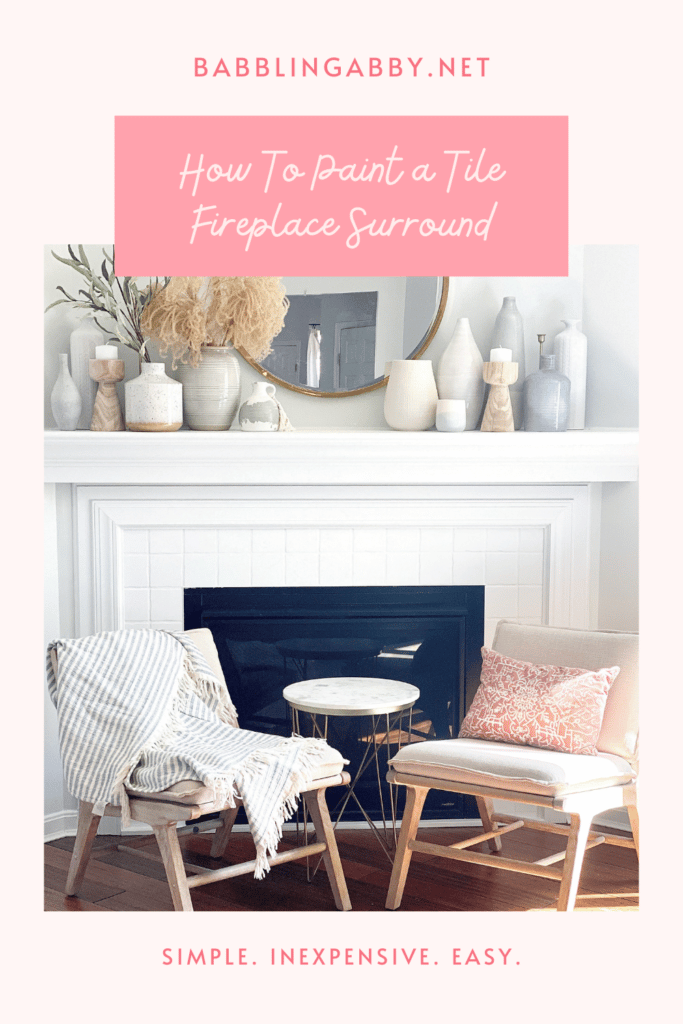
This post shares how to paint your tile fireplace surround. It’s quick, easy, and cheap! The impact is absolutely amazing for such a simple DIY.
We purchased our home in 2019 knowing we would be updating various aesthetics and systems for years to come. Honestly, besides the killer location (two doors down from my bestie + cul-de-sac + a bajillion kids to play with + school district we loved), it was one of the best parts of the home. There were (and still are!) so many opportunities to put our personal touches on it.
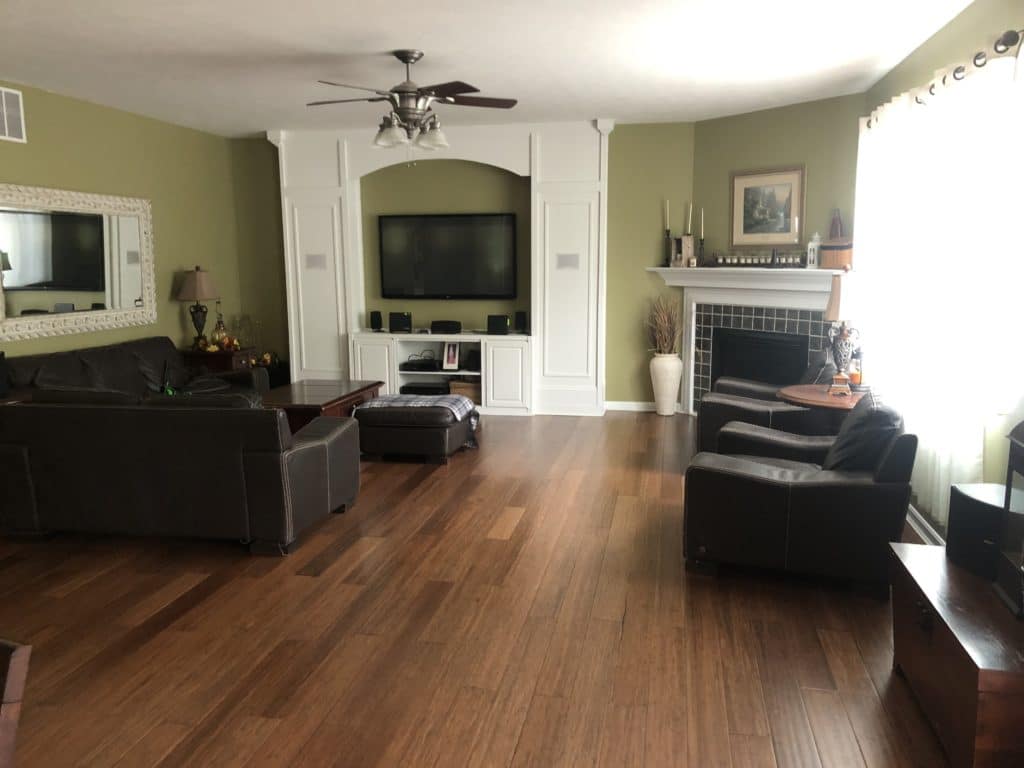
Built in 2008, the interior was very much a sign of the times – a heavy tribute to the olive greens and browns that were popular in the first decade of the 2000s. (Also, that’s such a weird thing to write – the first decade of the 2000s. Wasn’t that like last year? NO. LIKE A FULL DECADE AGO. WOW.)
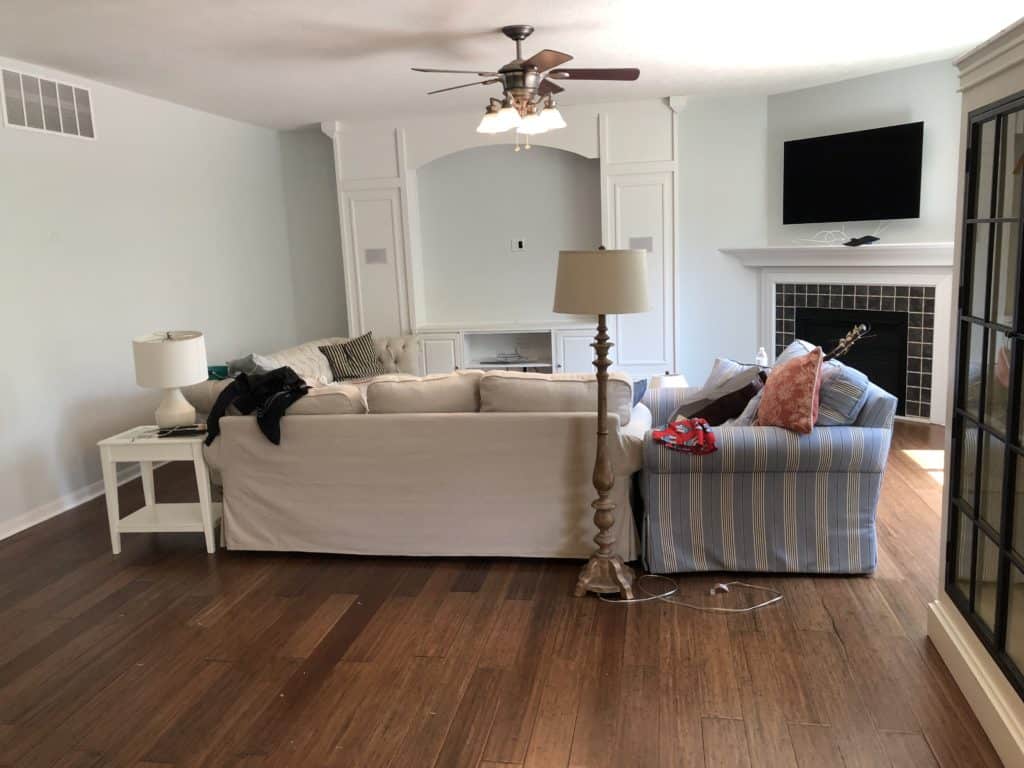
Anyway, as soon as we moved in, we had the entire interior of the home painted, plus replaced the carpet on the second floor. The first floor has bamboo flooring, and though a touch red for my taste, it will be staying…for now 😉
Because we moved so frequently – like, 4 houses in less than 24 months kinda frequently – I knew that I wanted to live a bit in this home before we made any major changes. I did know the plan was to be here a loooooong time.
So, for the whole first year that we lived here, we didn’t do any major changes. Then, after all of the holidays, my wheels started turning. We decided it was time to do something about the tiled fireplace surround. It was a green-black color and seemed awkward with everything else being so bright and crisp.
Brandon and I did some research and while replacing the tile would’ve been nice, we decided to go the less expensive route and try painting it. Much easier, quicker, and cheaper!
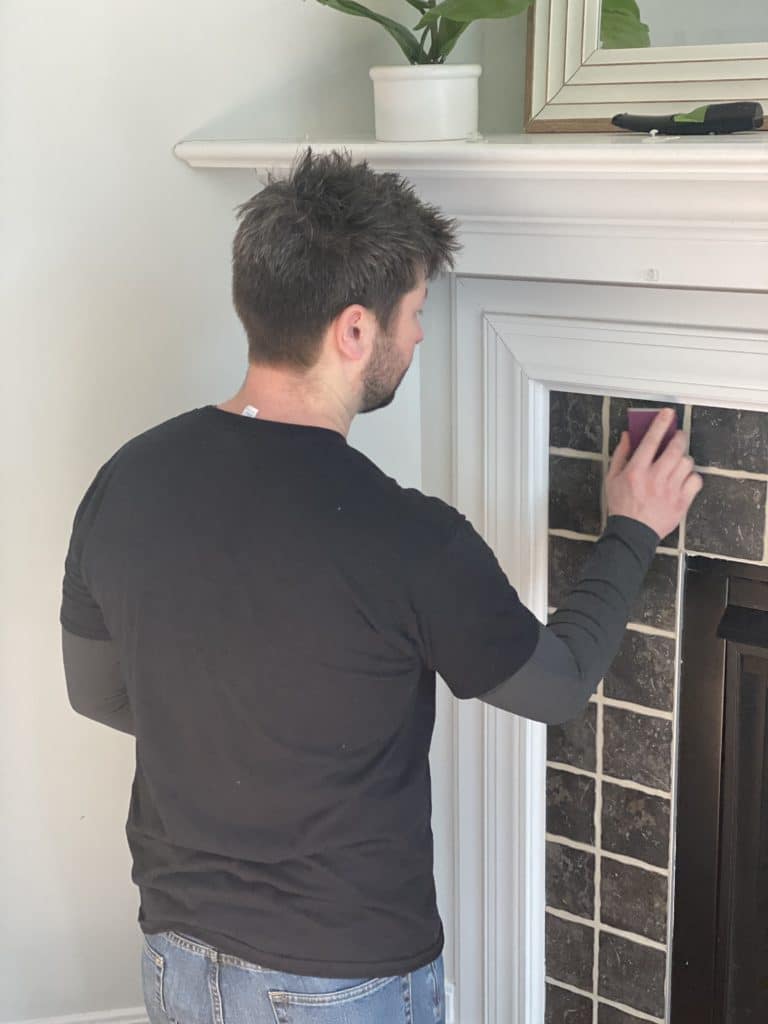
First, B gave the tile a light sanding, followed by a good scrub down. He used the 3M Edge Detailing 120 Grit sanding sponge and Simple Green All-Purpose Cleaner.
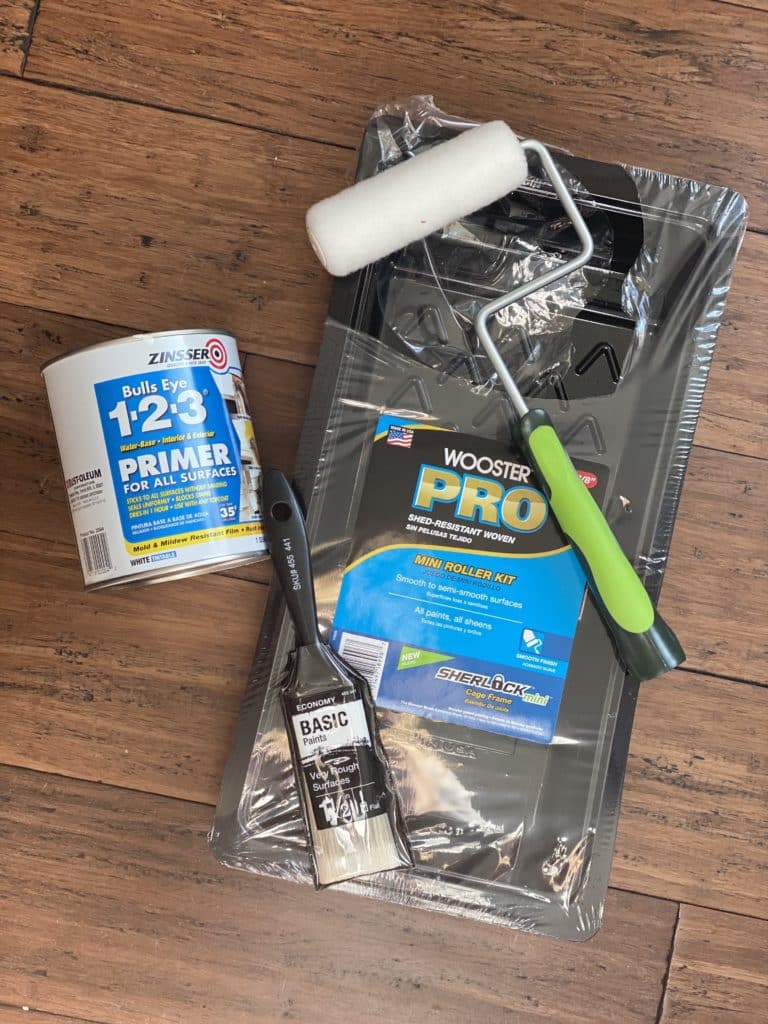
Brandon also purchased this mini-roller kit, 1.5 in flat paint brush, and primer. He used the flat brush to cut-in at the edges, and the roller for everything else.
Here’s a quick little-time lapse of the whole process…
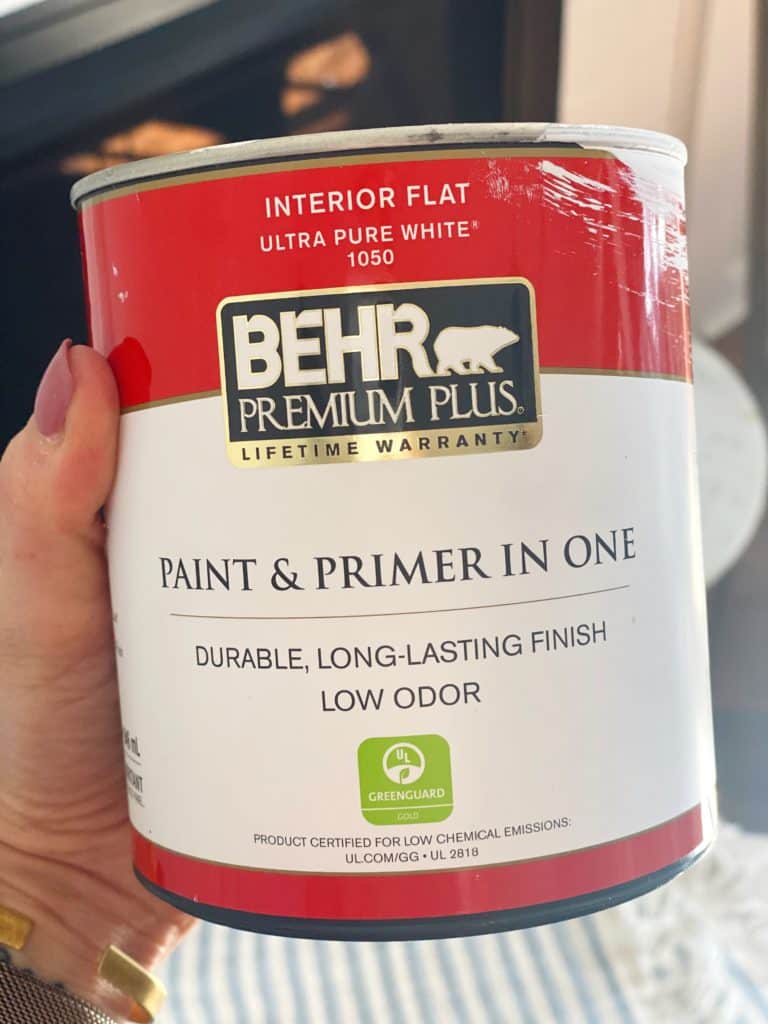
After everything dried, he repeated the process above with Behr Premium Plus Interior Flat Ultra Pure White Paint. (Pro Tip: have the paint tinted with a shot of black. It dulls the color the slightest bit and provides better coverage. Brandon worked in the paint department at Home Depot, so you can trust his advice!)
Look at the after! It’s so crisp and clean and fits in with our style so much better.
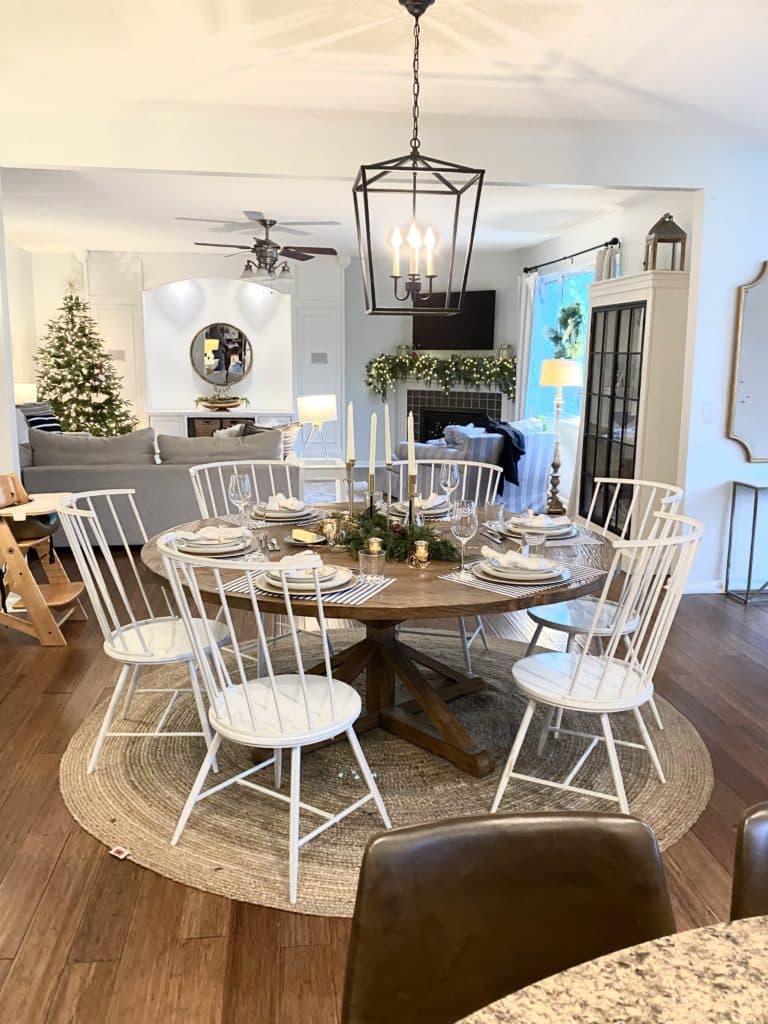
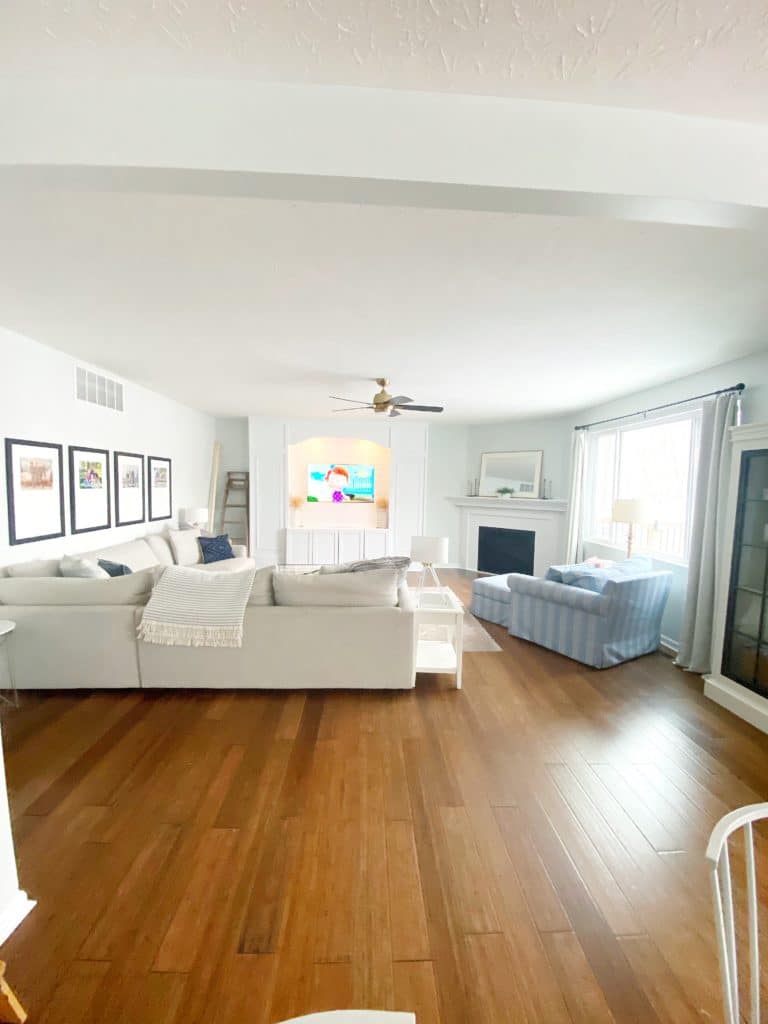
I mean, just look at the before and after shot of the whole room. The transformation is incredible. And, it shows you the power of paint!
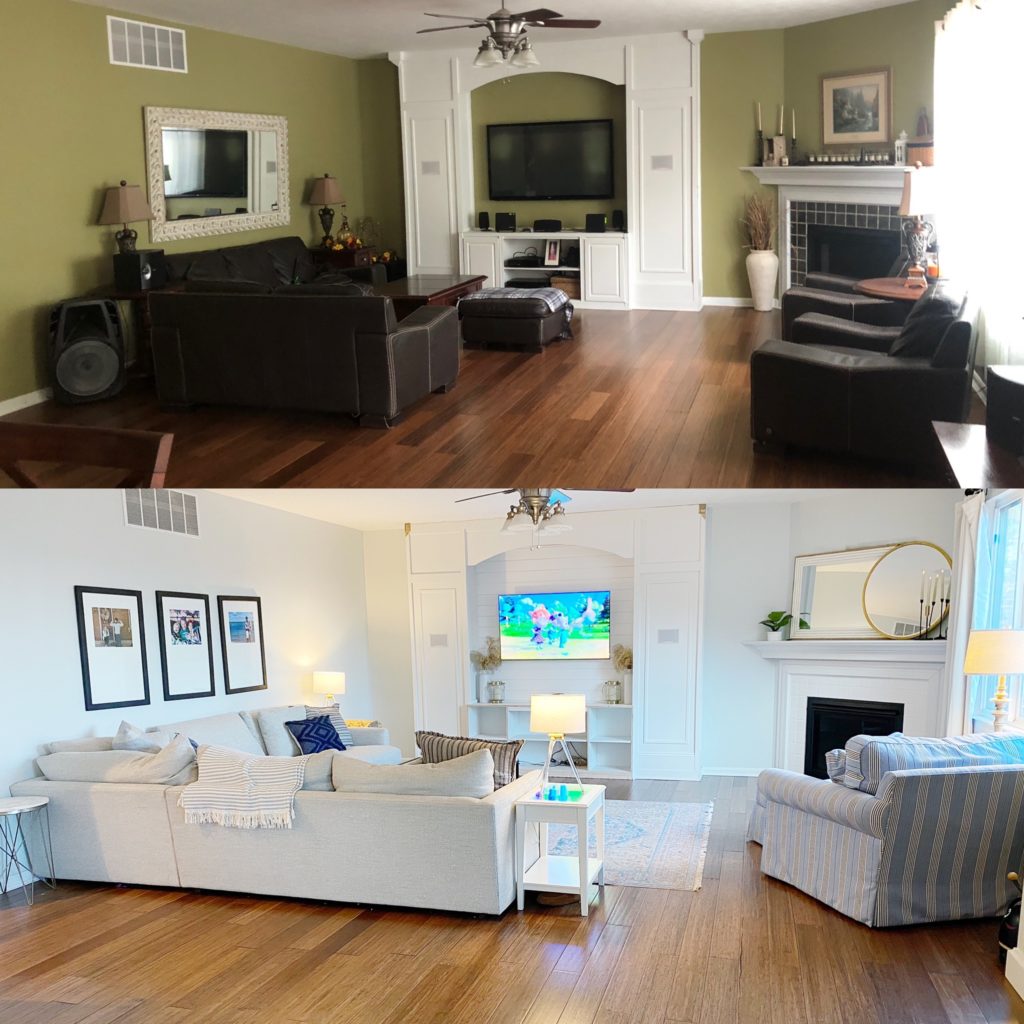
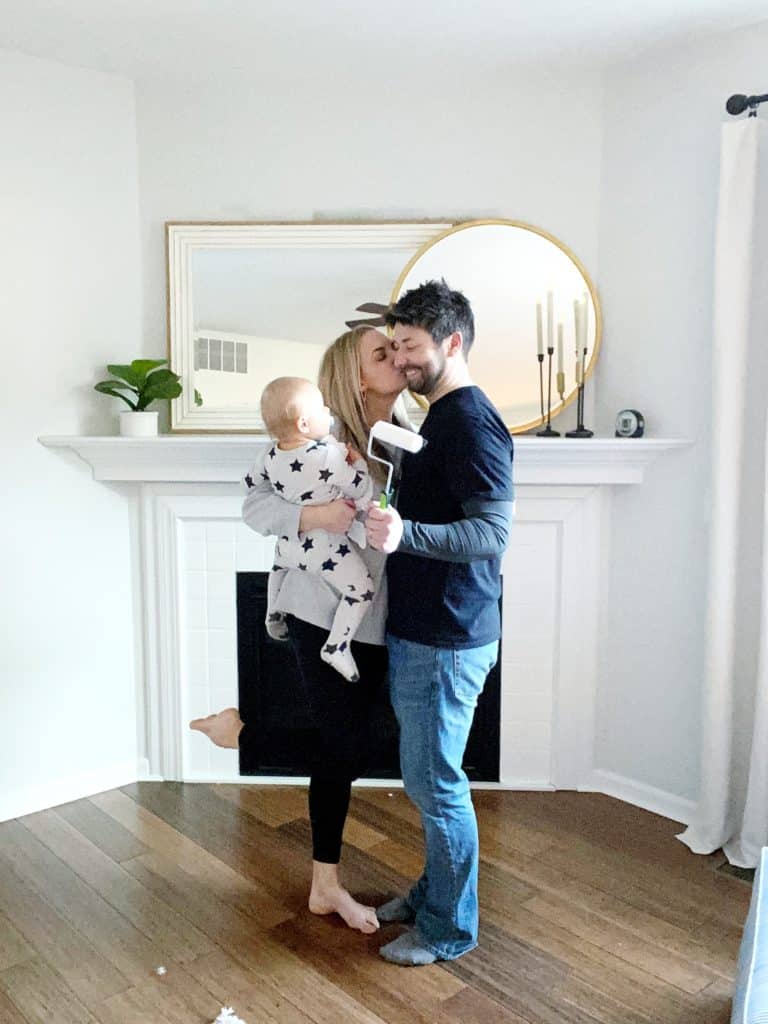
The total cost of the entire project was around $50 and took less than 3 hours start to finish. So, this is definitely something you could knock out as a weekend DIY project!
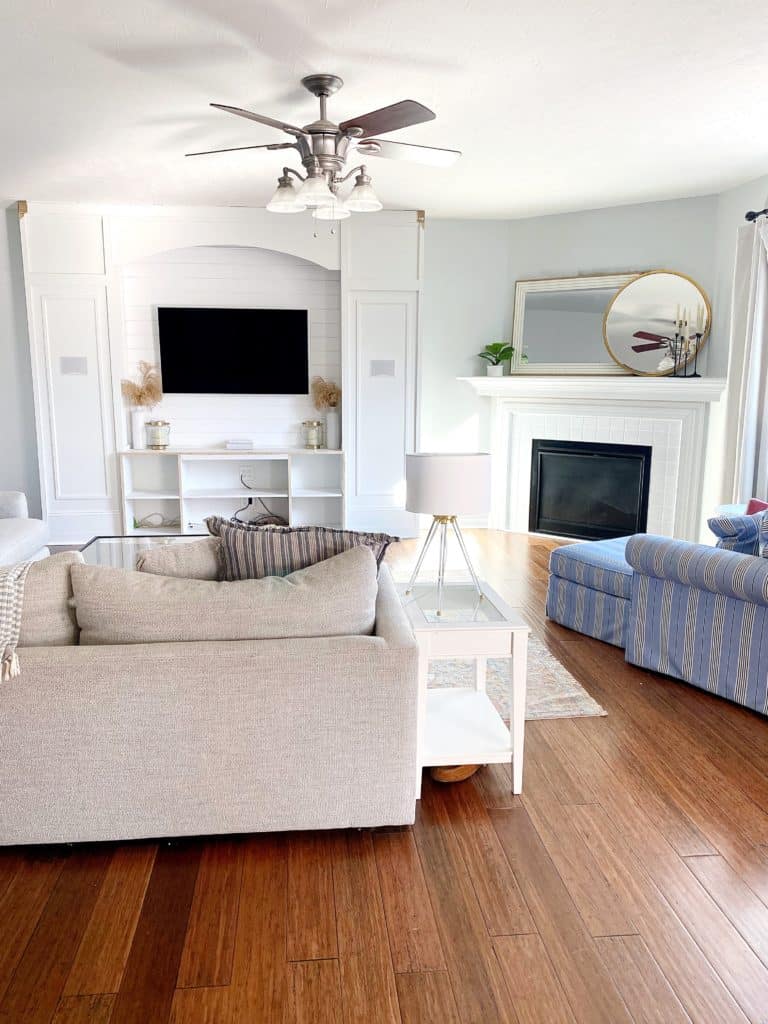
I’ll do a mantel decorating post soon, so stay tuned for that! Until then, if you have any questions about how to paint your tile fireplace surround, leave a comment and we’ll get back to you!
Follow me @babblingabby and my husband @buildergradebasics for daily updates and to keep up with our most recent DIYs!
These FREE resources are an instant download upon a confirmed subscription.
Yay! I'm so excited to connect with you! Now check your email to confirm your subscription. You freebies will download instantly upon confirmation 🙂

Abby is a former kindergarten and first grade teacher who channels her passion for education into creating engaging activities and resources for the kindergarten and first grade classroom. When not dreaming up or working on her next project, you’ll find her enjoying her family – most likely in her minivan on the way to a soccer field.


Help your students build their phonemic awareness with this simple segmenting activity. Get 25 FREE practice pages sent to your inbox today.
©2022 Babbling Abby. All Rights Reserved.